We are well aware of the timeline that agents/brokers experience and the many aspects of listing a home for sale or other type of real estate transaction. We offer several options, not to confuse, but to address all scenarios so that an online order can be submitted at anytime. For this reason we have separated out "Print Time" and "Shipping/Delivery" Method choices.
Our Print Time (Turnaround), refer solely to print production. They do not include any shipping or delivery-arrival times.
You need to select the best Print Time choice, as well as the best Shipping or Pick Up Method (at checkout) to meet your needs.
These are guidelines that apply to ALL Print Time Selections:
- Business Days in Monday, Tuesday, Wednesday Thursday and Friday
- Normal Business Day Hours on those above days are approx. 8am to 5pm-
- Our Business Day CUT OFF TIME is 3PM (not 5pm).
- Any order received after 3pm on a business day is considered to initialed on the follow business day.
- An order submitted without a request for proof and is print ready, is considered "Ready to Go"
- An order submitted with a request for proof, is not considered "Ready to Go" until that proof is approved.
Standard Print Time - (2) Business Days.
Example: You place your brochure order on a Monday at 1:30pm.
Your order will be READY TO SHIP on that Wednesday or PICK UP after 5pm on Wednesday.
Example: You place your brochure order on a Monday at 4:00pm.
Your order will be READY TO SHIP on that Thursday or PICK UP after 5pm on Thursday.
Next Day - (1) Business Day.
Example: You place your brochure order on a Monday at 1:30pm.
Your order will be READY TO SHIP on that Tuesday or PICK UP after 5pm on Tuesday.
Example: You place your brochure order on a Monday at 4:00pm.
our order will be READY TO SHIP on that Wednesday or PICK UP after 5pm on Wednesday.
SAME DAY (When Available) - Same Business Day
Example: You place your brochure order on a Monday at 2:50pm.
Your order will be READY TO SHIP on that Monday or PICK UP after 5pm on Monday.
Example: You place your brochure order on a Monday at 4:00pm.
our order will be READY TO SHIP on that Tuesday or PICK UP after 5pm on Tuesday.
Our email notifications or proofs files going to your Junk/Spam or other email inboxes, is not our responsibility. Make sure you have allowed our domain(s) to be added as "safe". We send Attachments, Links and other correspondence that when combined - on some email servers, may be mis categorized.
IF YOU NEED ANYTHING BY SPECIFIC TIME OF DAY - Your are mostly likely not going to get it with any standard or economy selection. There are cost associated to expedited production. Evaluate that cost and the return it provides - USE SPECIAL PRODUCTION. We will contact you and if we cannot meet the needs you place in Notes section at checkout there will be no charges






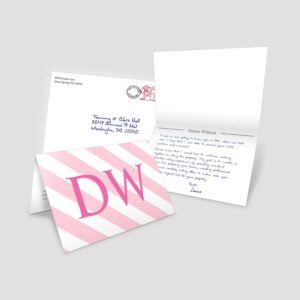
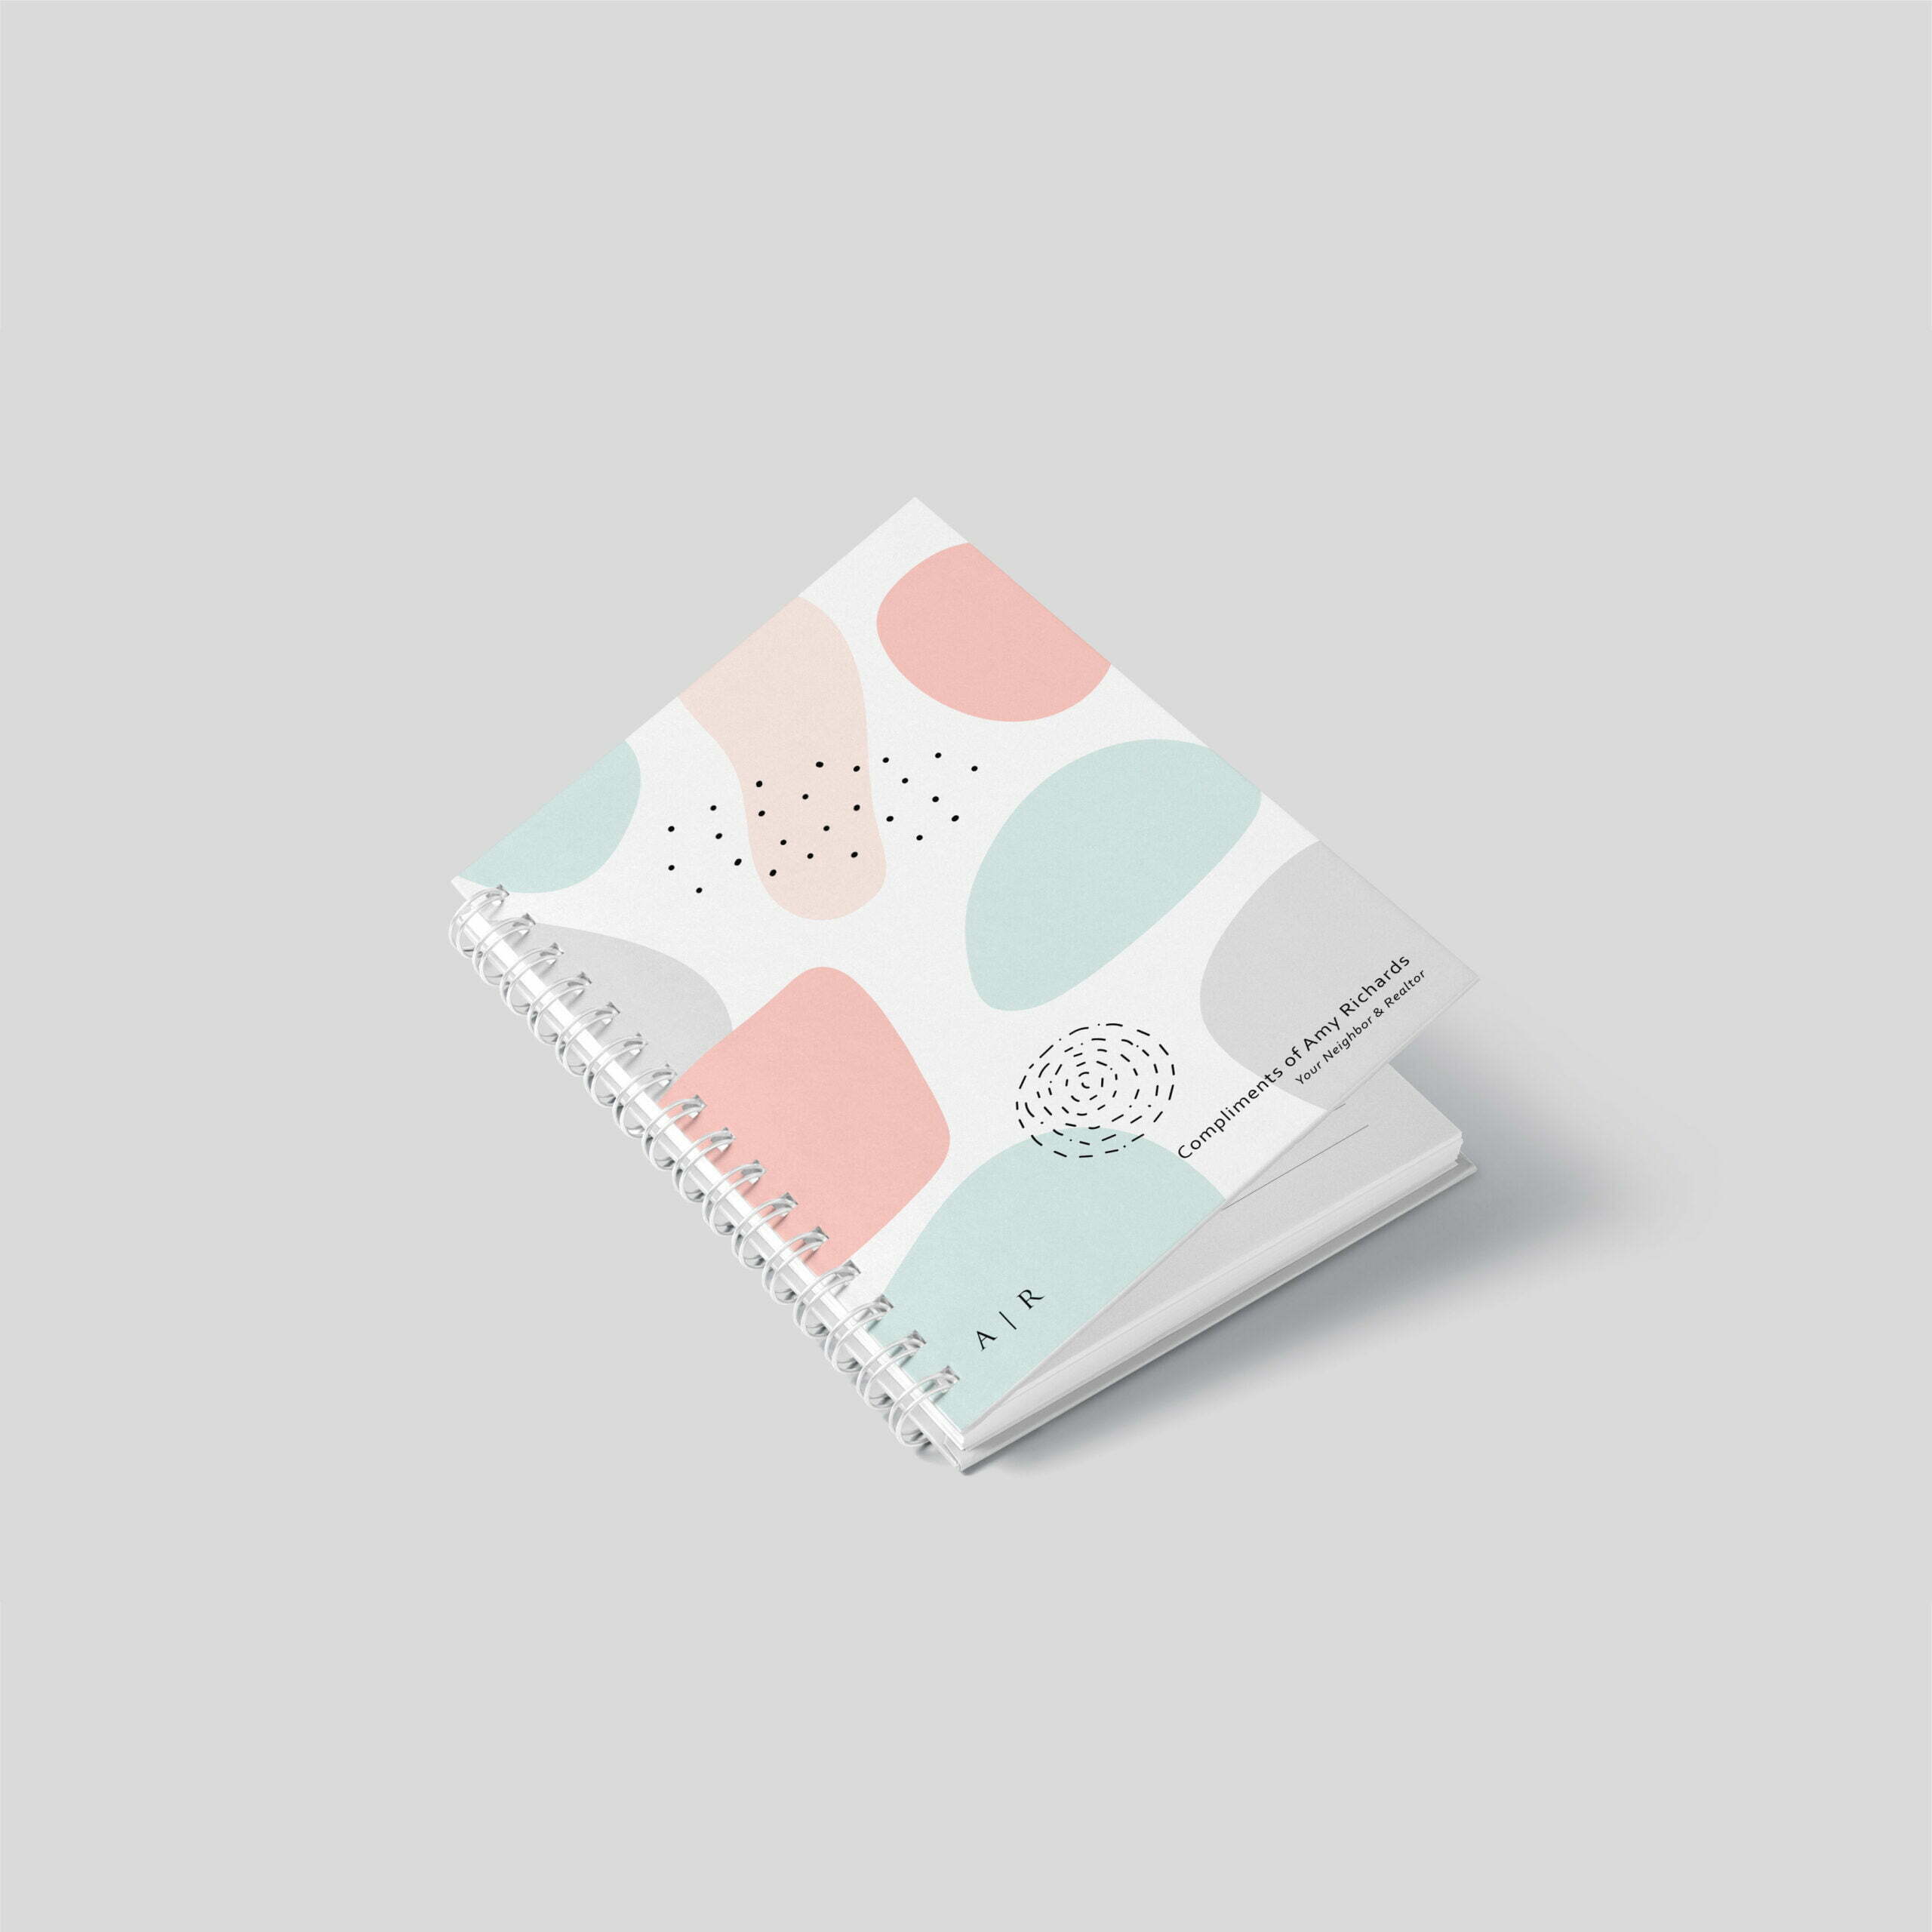

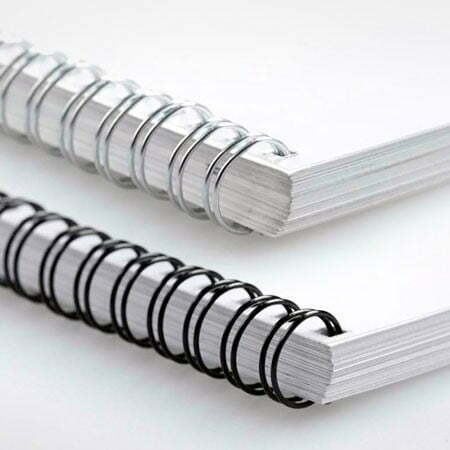
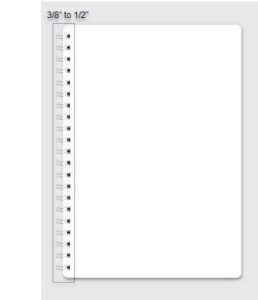
 Gain awareness for your brand by using these custom double-wire spiral notebooks to promote your brand! This convenient size notebook or journal will make a great impression on prospects, new clients and past clients. IDEA: Take the opportunity to refresh yourself with past clients (SOI) by dropping or mailing one off to them with a quick note – much more personal touch than a business card!
Print (5) 25 Pages Custom Notebooks for only $40
